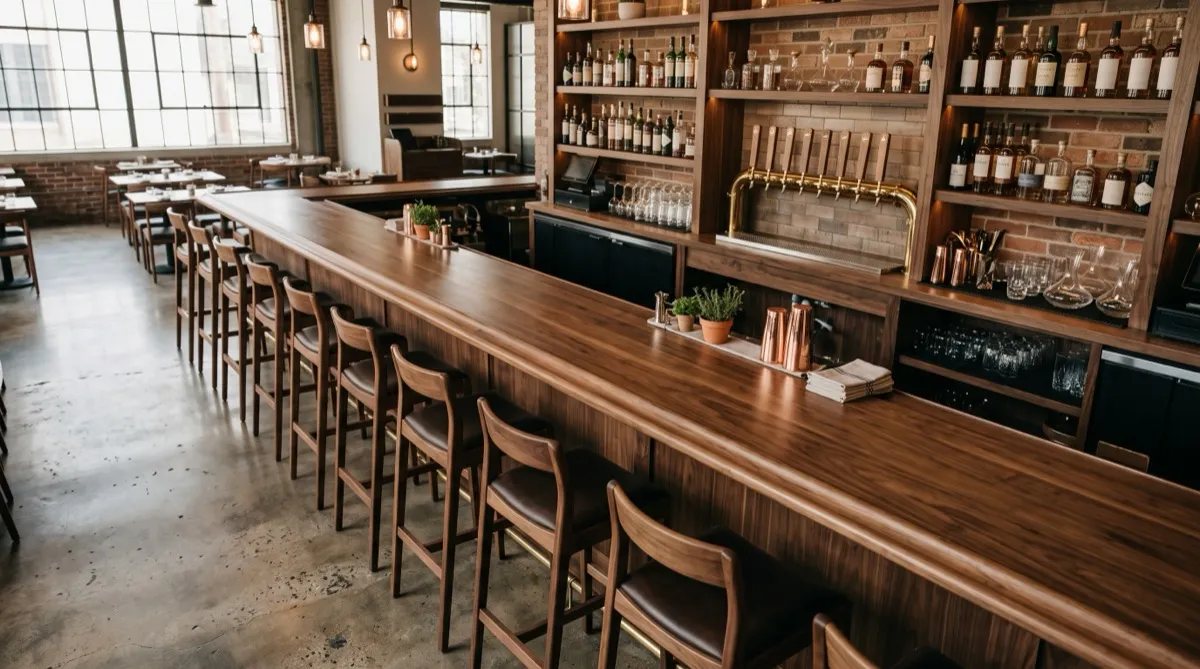
A bar's furniture layout gets decided on paper long before any stool ships, and most of the layout mistakes that plague a bar for years trace back to that early planning stage. Getting the rail stool count, the standing room balance, and the zone adjacency right the first time saves a room from feeling either cramped or dead on a Friday night.
Counting rail stools correctly
The number of stools that fit at a bar rail is not simply the bar length divided by an average stool width. Guests need shoulder room, servers need working gaps to reach in and clear glasses, and corners of the bar typically lose usable seating space to structural posts, service wells, or point-of-sale terminals. A workable rule of thumb is roughly 24 to 28 inches of linear bar per stool for comfortable seating, tighter than that and the bar reads crowded even half full.
Measure the actual usable bar length, not the total bar footprint, and subtract for service stations, corners, and any structural intrusion before dividing for stool count. A bar that looks like it should seat twenty on the architectural drawing often seats sixteen once real spacing gets applied.
Drink ledges and standing room
Not every guest at a busy bar gets a stool, and a layout that assumes one does under-serves the room during peak hours. Drink ledges, narrow shelf-style surfaces mounted along a wall or a half-height rail, give standing guests somewhere to set a glass without needing a full table. This is one of the highest-value, lowest-cost additions to a bar layout, since a ledge takes almost no floor space compared to a table and dramatically increases the room's standing capacity during a rush.
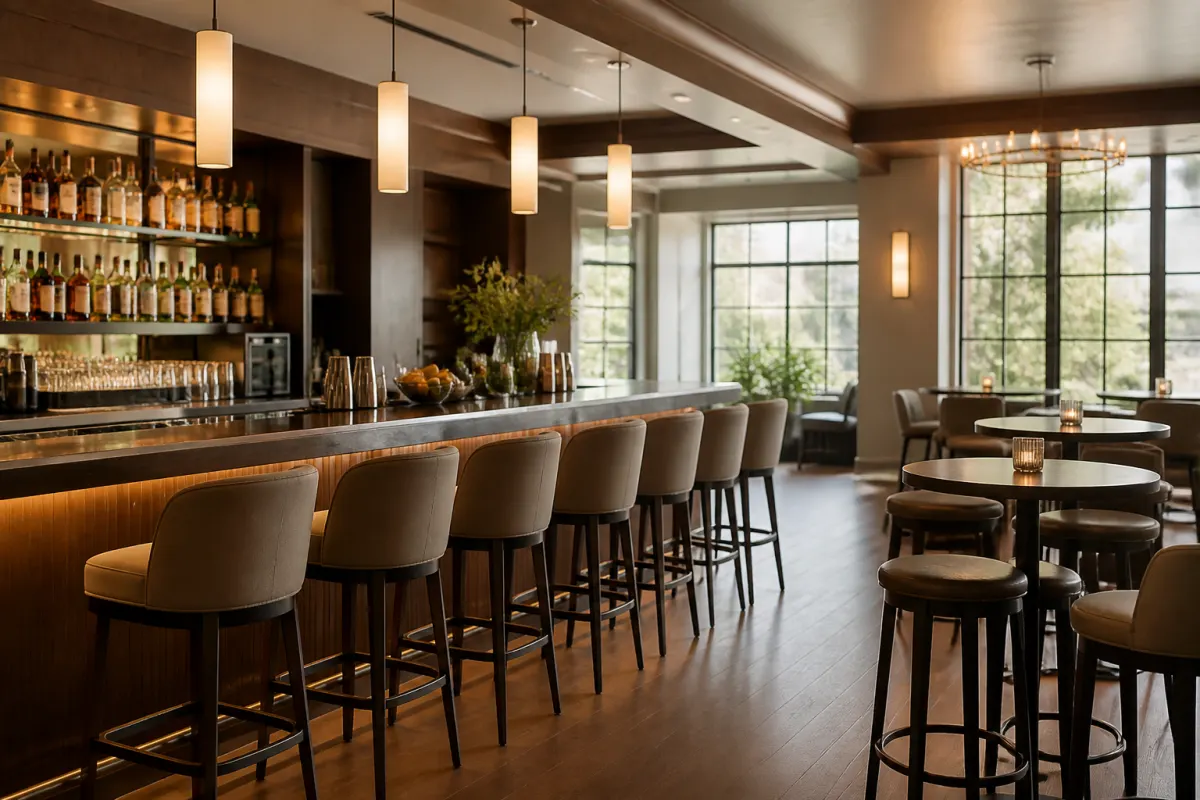
Standing room needs its own floor allocation too, separate from stool seating and separate from walking paths. A bar that packs stools edge to edge with no standing buffer forces guests waiting for a seat to stand in the server's working path, which slows service for everyone.
Back bar and working clearance
The back bar, the working area behind the bartender, needs enough depth for staff to move, reach, and pass each other without turning sideways. This is a staffing and service decision as much as a furniture decision, but it directly constrains how deep the front bar counter and stool zone can be. A bar built too shallow on the working side to save floor space for seating usually costs more in slowed service than it gains in seat count.
Lounge adjacency
Most bars have a lounge or high-top zone adjacent to the bar itself, and how that zone connects to the bar rail matters more than either zone in isolation. A lounge that requires guests to cut through the main service path to reach the bar creates congestion at exactly the point where the bartender needs clear space to work. Position lounge and high-top zones so guests can move between them and the bar without crossing the primary service lane, and keep sightlines open from the bar to the lounge so a short-staffed shift can still keep an eye on the whole room.
Balancing standing room against seated capacity
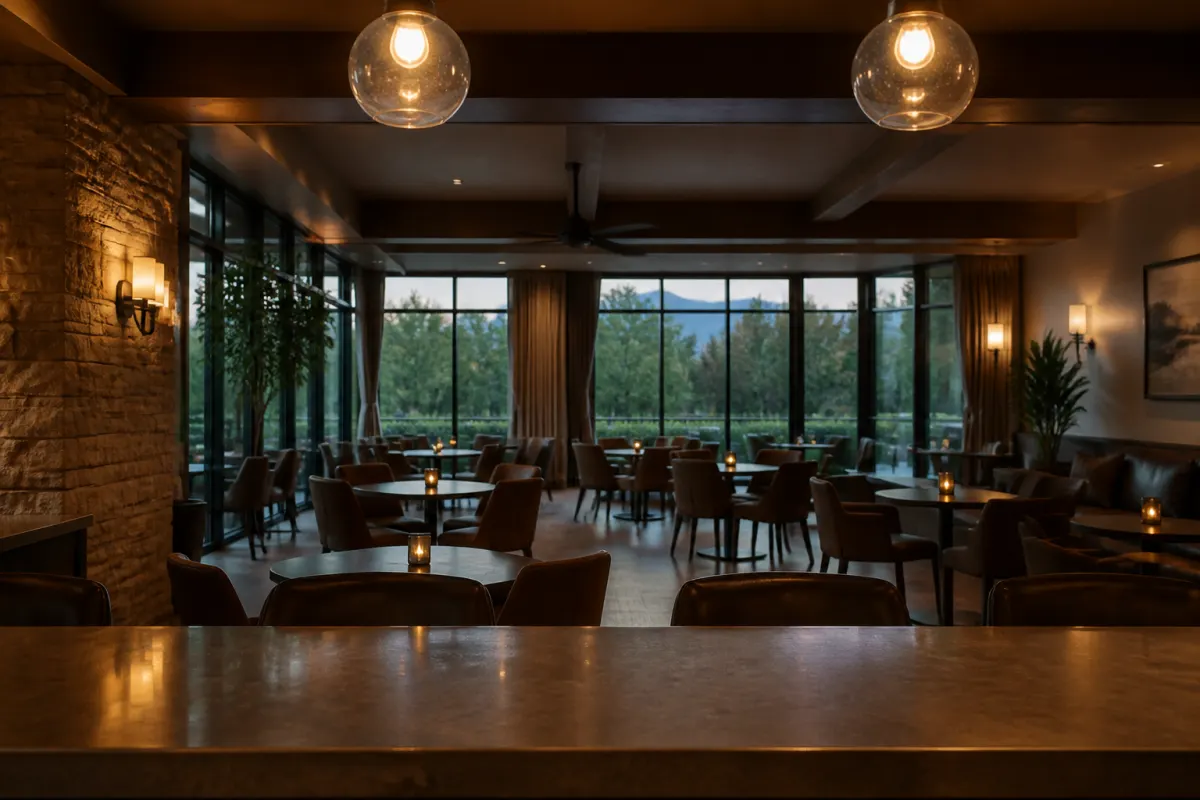
Choose the seated/standing balance from the venue's operating brief and observed guest use. Record spend, dwell time, queueing and service movement before attributing an outcome to furniture. Compare the actual occupied layouts and approved capacity rather than assuming more stools or standing space automatically produces more revenue.
Use the banquet seating calculator for an initial area scenario if helpful. It does not combine the actual bar, lounge and dining furniture envelopes or approve occupancy. Check the dimensioned occupied layout, standing zones and applicable access/egress requirements before deciding the total headcount.
Sightlines and lighting in the layout
Furniture placement also determines what a guest sees the moment they walk in, and a bar layout that puts the back bar and bottle display in clear view from the entrance reads as more inviting than one where seating blocks that sightline. Position stool rows and lounge furniture so the path from the door to the bar stays visually open, even if the physical walking path has to bend around a column or a service station.
Lighting placement should get planned alongside furniture layout rather than after it. A pendant light positioned for a table that later gets replaced by a different furniture arrangement leaves awkward shadows or glare at the new seating position. Coordinate the electrical and lighting plan with the final furniture layout, not an earlier draft of it, so fixtures land where the furniture actually ends up.
Putting the plan together
The bar furniture guide helps structure the specification after the layout study. Browse barstool concepts for visual references, then ask the supplier for actual widths, rotation/pullout envelopes and commercial-use documents before using a model in the rail plan.
Submit a furniture request with the dimensioned bar/lounge plan, tested quantities, finishes and target dates. Relevant independent suppliers may identify actual models and quote directly; retain designer approval of the final layout.